
 Image 1 of 7
 Image 2 of 7
 Image 3 of 7
 Image 4 of 7
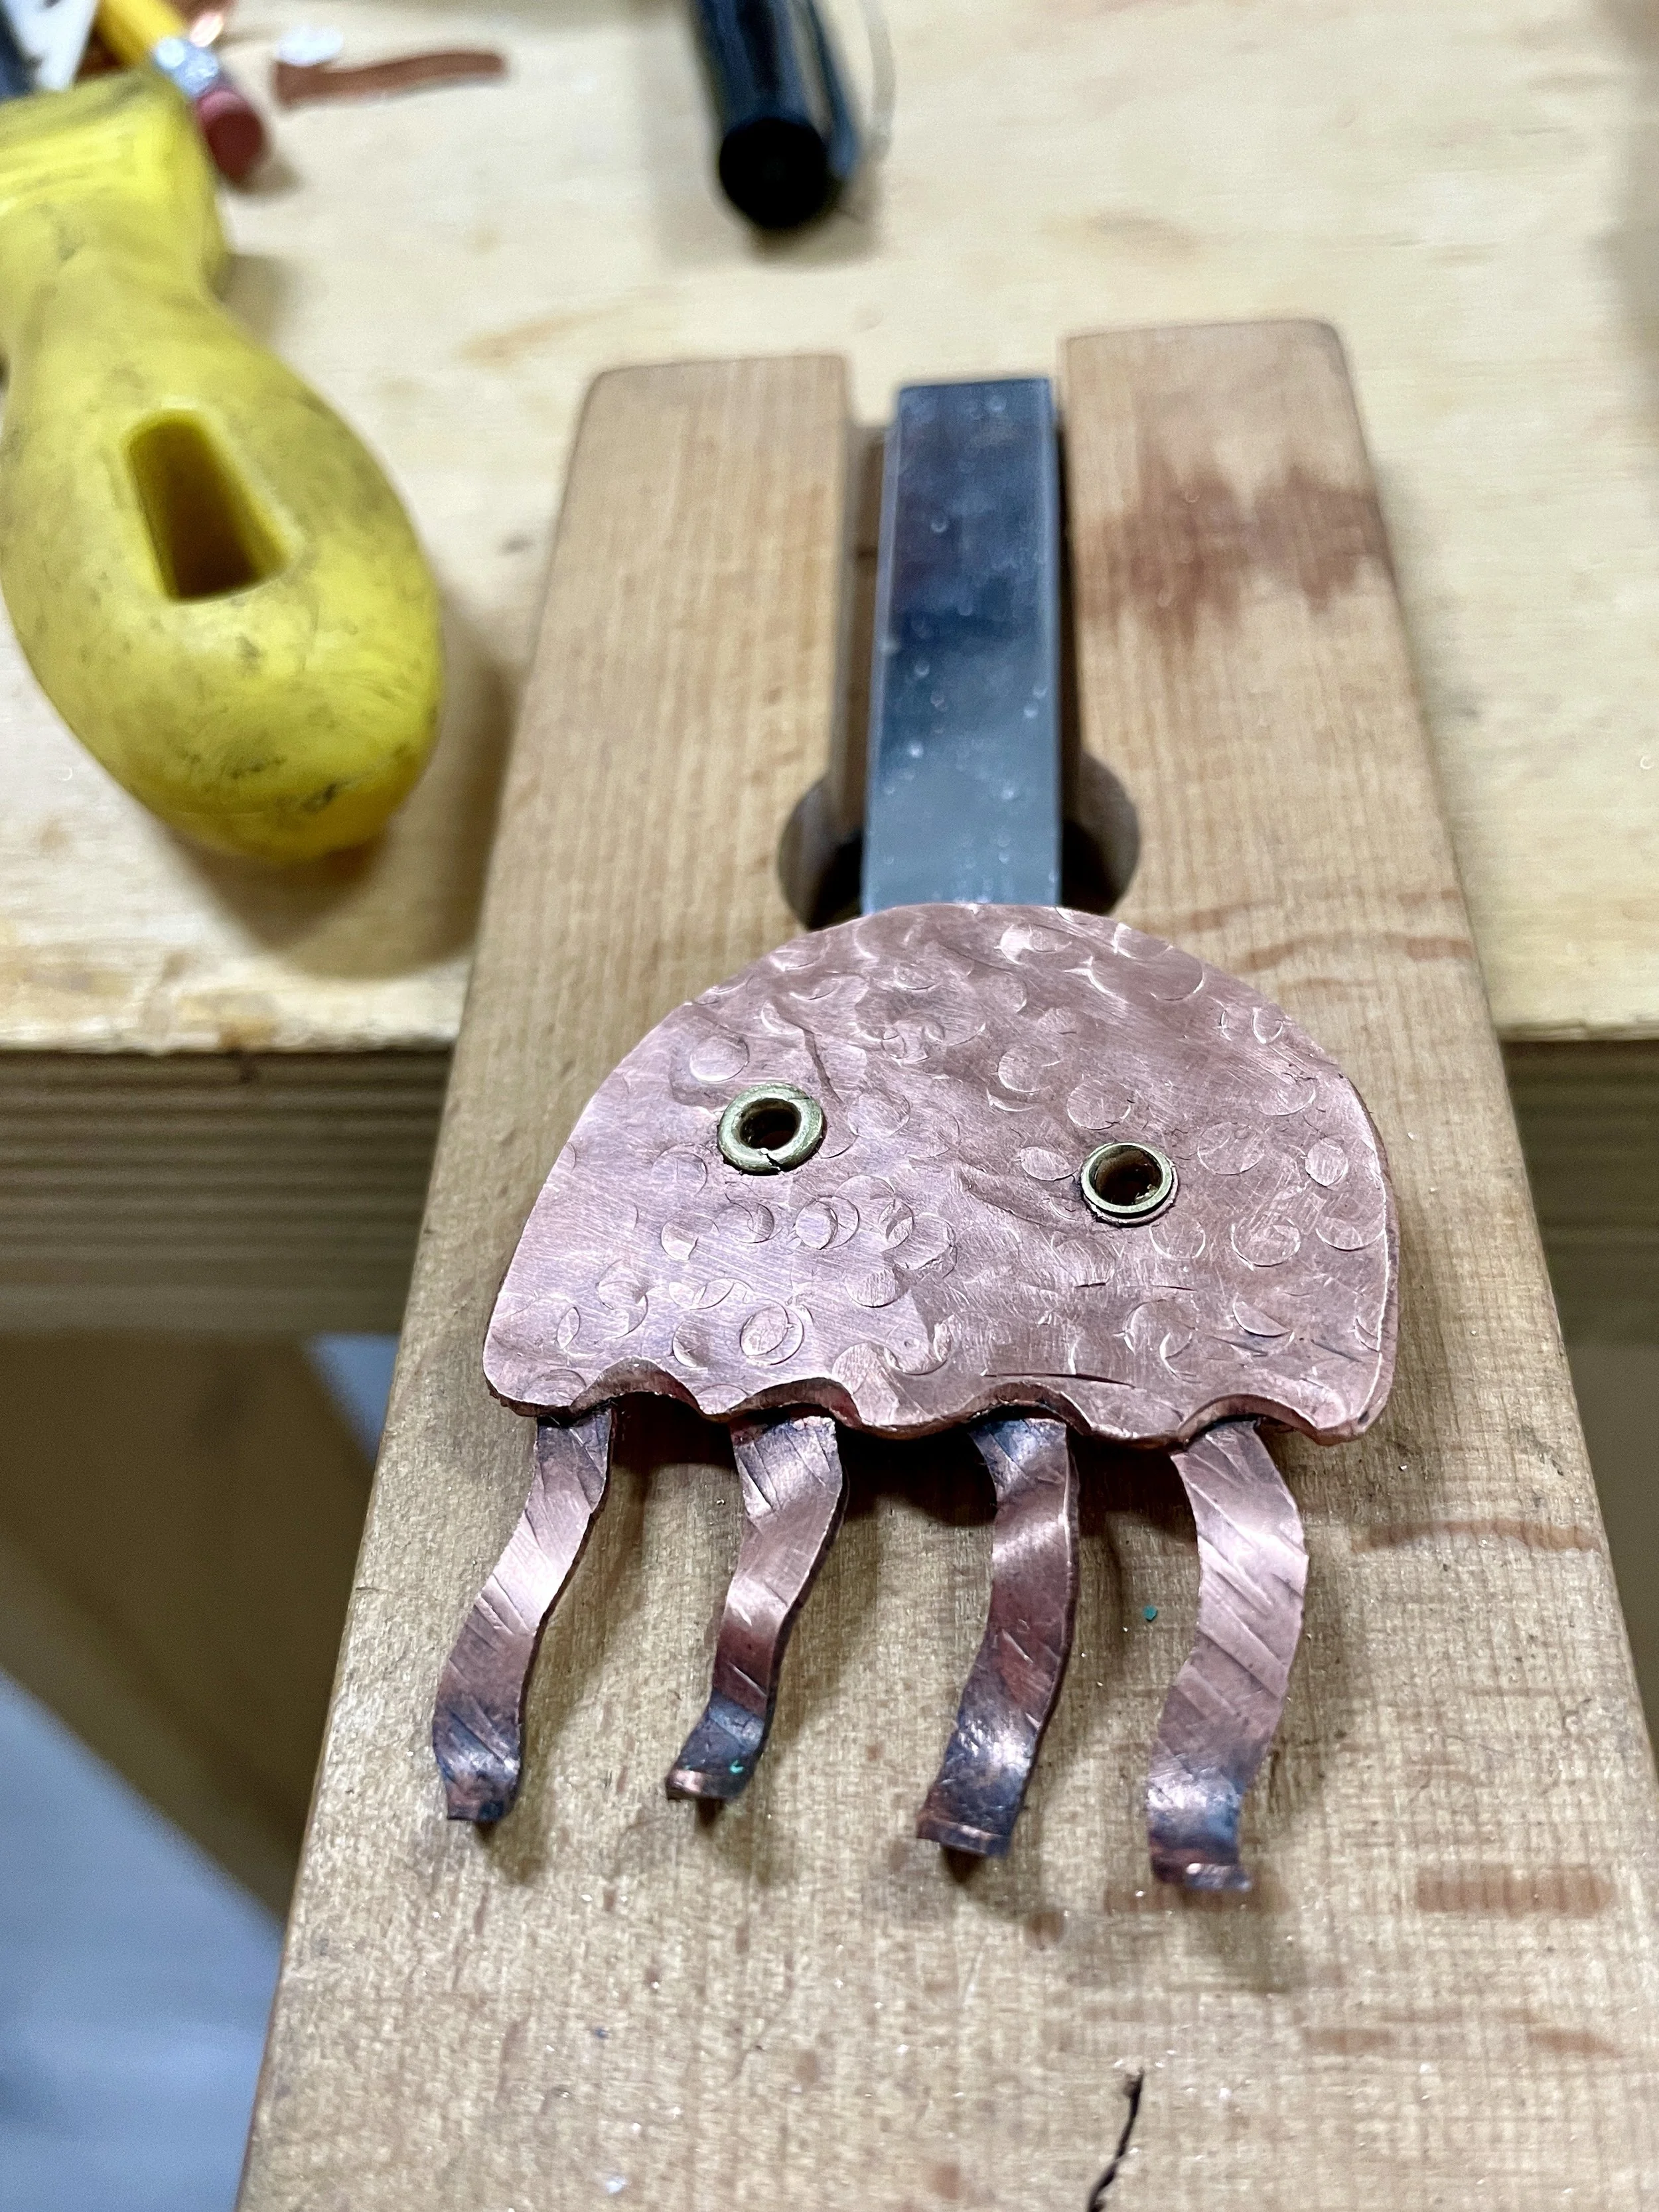 Image 5 of 7
 Image 6 of 7
 Image 7 of 7
Class fee includes raw materials and access to all equipment listed below.
Tools/ supplies list:
Copper Sheet (3x3, 22g)
Pencil, Eraser, Sharpie
Blank Stickers
Torch
Annealing Pan
Pickle
Copper Tong
Roller Mill
Bench Pins
Jewelry Saw
Saw Blades
Cutting Lubricant
Ring Clamp
Metal Files
Flex Shaft & Bits
Center Punch
Caliper
Rivets: Brass tubings
Riveting Hammer
Anvil or Bench Block
Pliers
Wire Cutters
Patina
Sand Paper or Steel Wool
Safety Goggles
Dress code:
Please wear something without dangly big sleeves. If you have long hair, please wear it up. Closed-toe shoes are highly recommended in case you drop it like it’s hot. Aprons optional.